
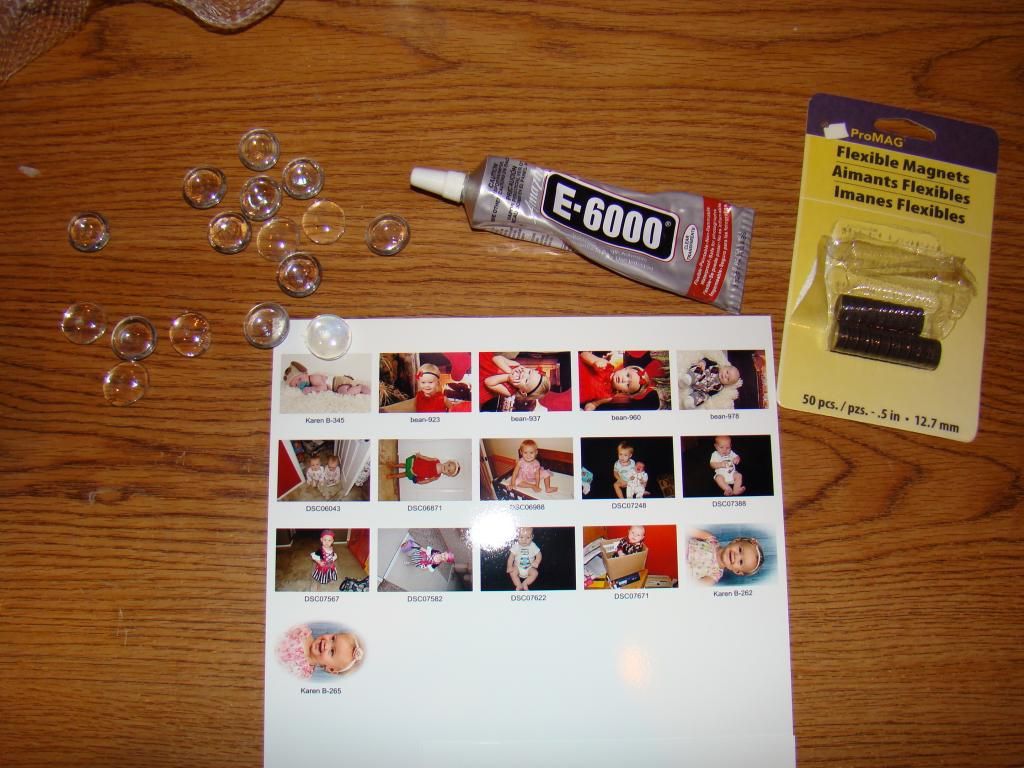
The materials you're going to need can all be picked up at Michael's, I don't know exact prices but I know it's less than $20 for sure! I was able to make 5 batches of magnets!
Clear Adhesive (Amazing E-6000)
Clear flat sided marbles
.5" circular magnets
8.5X11 Photo paper
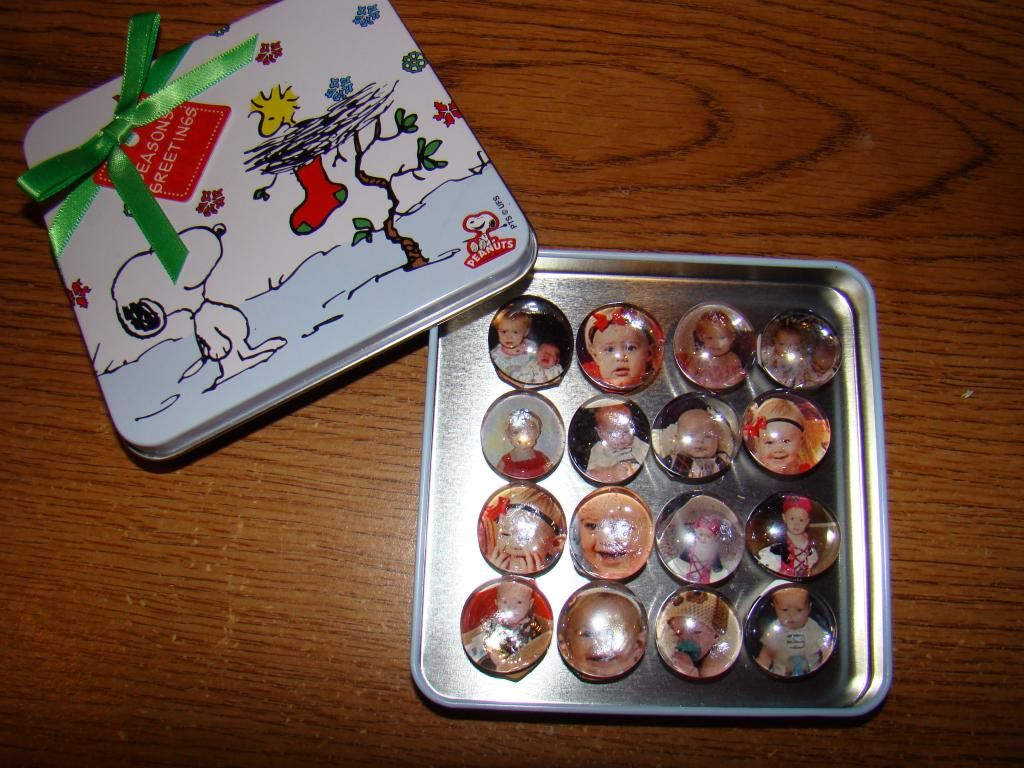
Gift card tin
The first step is to choose your photos. The key is to pick a picture where the subject is centered and further back in the photo so that it will fit underneath the marble. You can practice by choosing a few photos, printing them on plain paper, and then placing a stone on top to get a clue as to how they'll look.
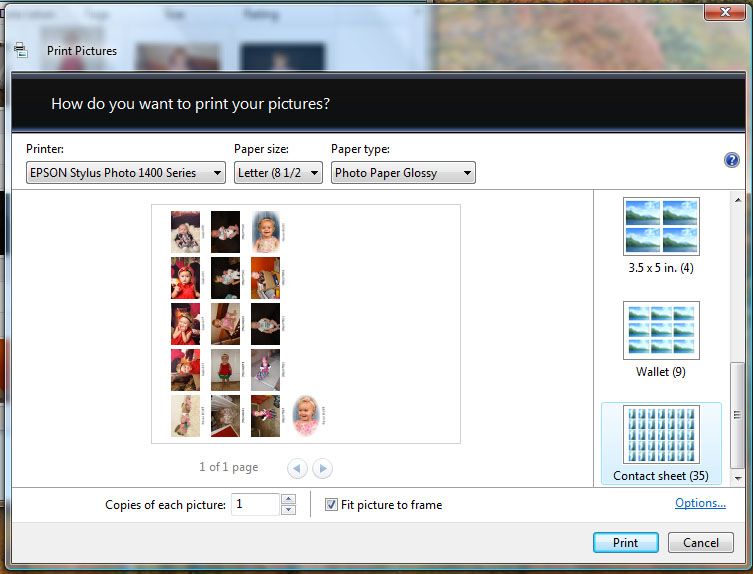
I picked out as many photos as I needed and added them all to a folder called 'Magnets'. I selected all of the pictures in the folder, right click, and print. When you get to the print screen make sure you have photo paper selected, and the size 8.5 by 11. You should be able to choose how big you want the photo to be, such as 8X10 or 5X7, you need to choose the option called 'Contact Sheet' which can print up to 35 very small pictures.
Once the page has printed I placed a marble on top of the photo, centered it to how I wanted it to look as a magnet and then used a pen and made a rough tracing. You don't have to make it exact, or beautiful, as you'll be cutting well within the lines.
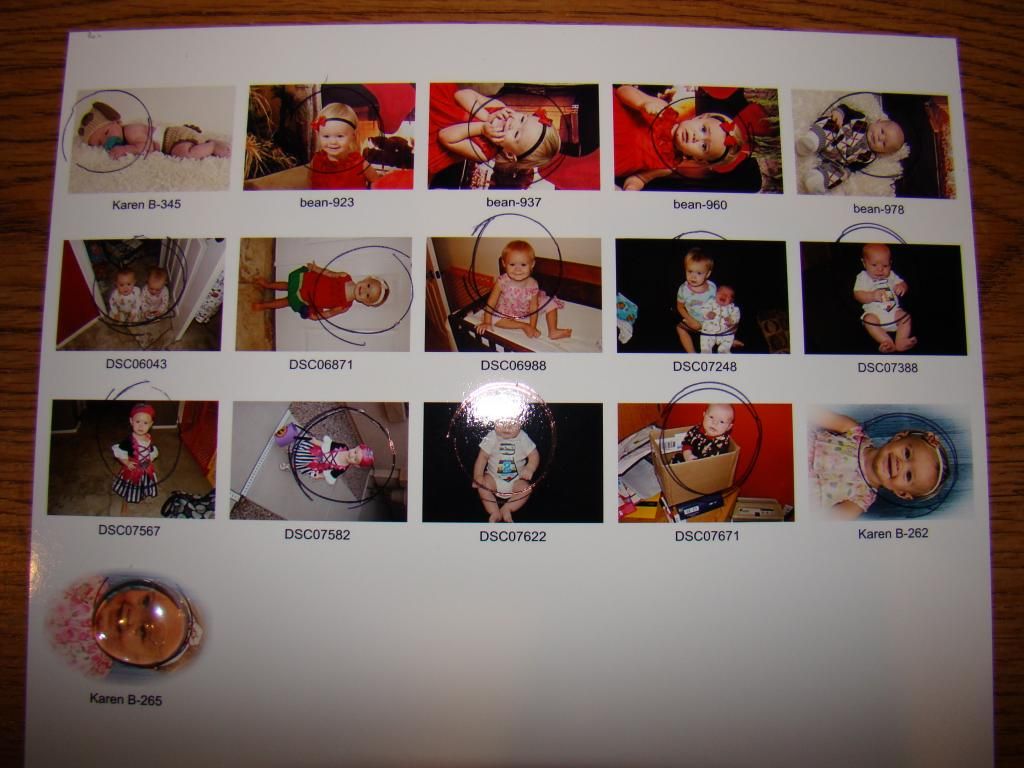
Once each photo is traced take a pair of scissors and cut within the lines. Place the marble over the cut picture and trim the sides as needed. They don't have to be perfect circles, the marbles aren't perfectly round, and are also pretty forgiving.
Once you have them all cut out it's easiest to divide them into a couple of groups to glue. Add a small dab of glue to the center of each photo, then press a marble flat side down onto each picture. Press firmly until you see the glue spread underneath completely.
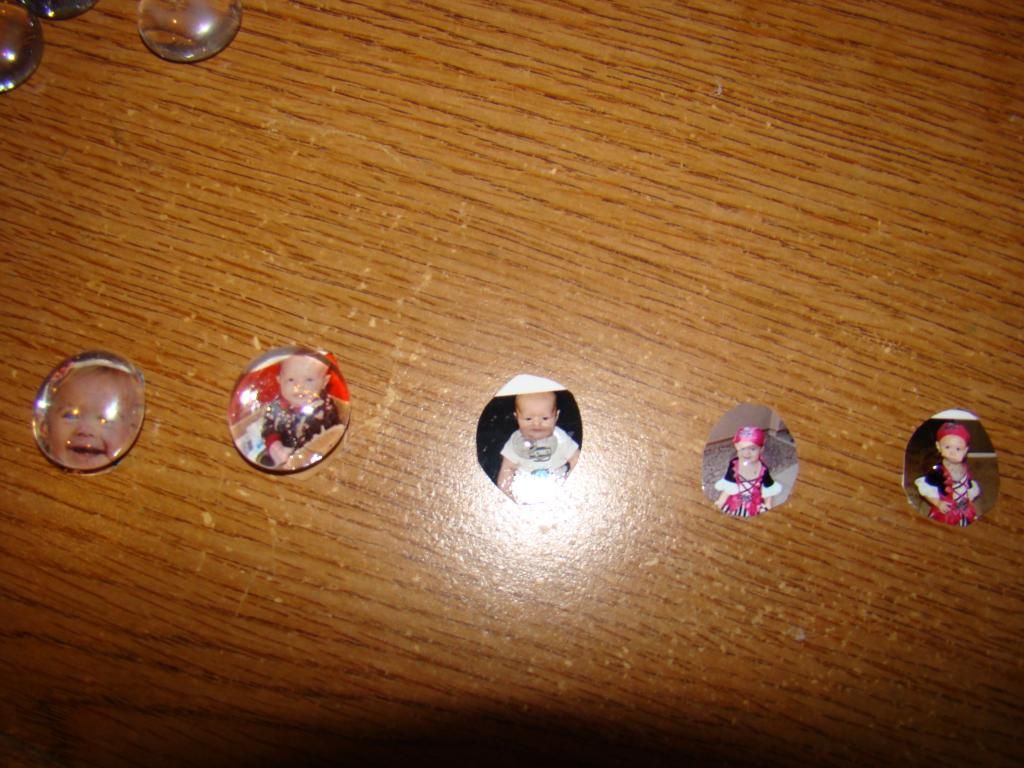
Once each marble is placed you don't need to wait for them to dry. Lay your magnets out and add a small dab of glue to the center of each one just like you did with the pictures.
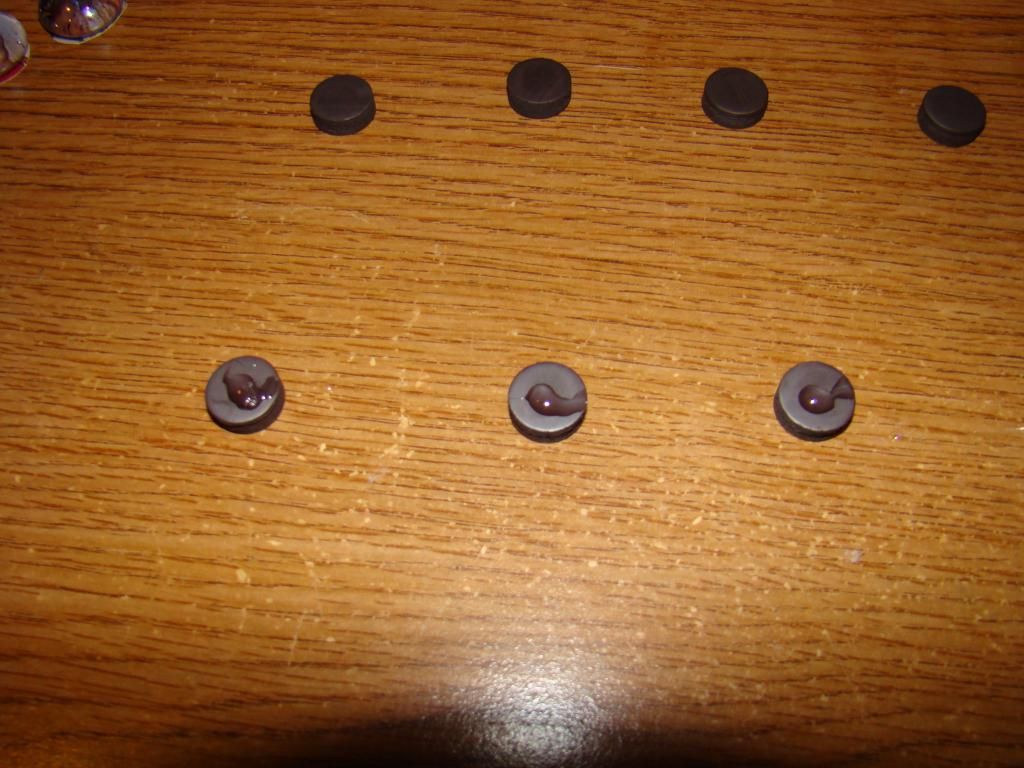
Take the marble/pictures and firmly press them on top of the magnet. Once that was complete I placed them all into the gift card tin to dry. It is best to let them dry and air out for a few days before you put the lid on the tin, because the glue can be strong smelling.
And that's all there is to it! An easy DIY project that takes little time, and little money!
No comments:
Post a Comment